A year ago this week…


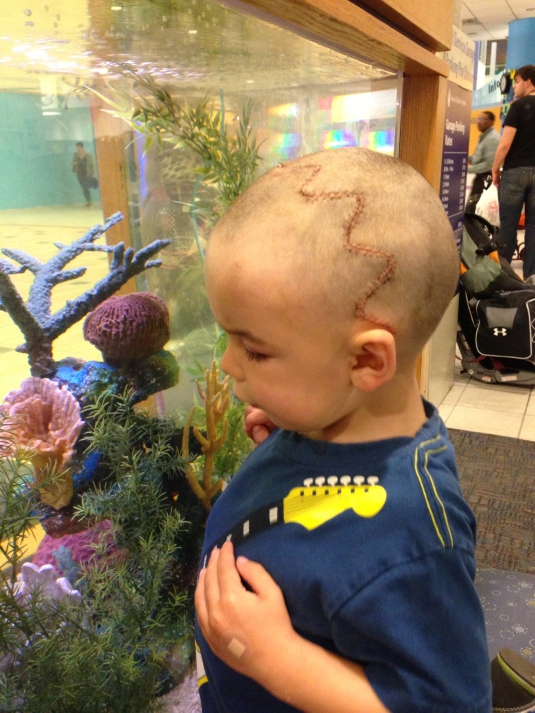
A few weeks pre-surgery

A few weeks pre-surgery, Photo taken by http://www.kamifridayphotography.com

A year ago this week I was preparing my baby for another major surgery.  Fifteen months after the first Cranial Vault Remodeling (CVR) for craniosynostosis, it was discovered that Myles’ skull had re-fused.  This is a very rare occurrence, happening less than 5% of the time.  Lucky us!

CT ScanMatt and I took him to his one year post-op check up with some concerns about a bony ridge running along the top of his head lengthwise (the saggital suture).  We brushed it off as us being overprotective parents but when we voiced our concerns to the surgeons, along with Myles’ developmental delays and balance issues, they agreed it would be prudent to take a closer look.  After the sedated CT scan, we saw that not only was his saggital suture fused (which was a new one for us!), his left coronal suture, which had previously been repaired, has re-fused.

May 21st was the day.  As we did back in 2011, we stayed at the Inn at Longwood the night before for our ridiculously early check in to Pre-op at Children’s in Boston.  It was no easier handing him over to the surgical team this time around…as a mother there are probably very few things that are scarier or more gut-wrenching.  His surgery this time was to be a different repair method: barrel-staving.  His surgery was about 5 hours long, no complications, and he actually did not require a blood transfusion this time around.  (His first surgery he had almost all of his blood transfused).

At our hourly update after the heavy lifting was done, Myles’ surgeon told us the pressure in his skull was immense, pressing so hard on his brain that the shape of the brain had imprinted onto the inside of his skull.  We finally had the answer to why he had not eaten a meal in months, the failure to thrive, the balance issues, and the eye issues.

IMG_4897

The waking up was rough…The anesthesiologist took him out “too quickly” for whatever reason and he was a crazy person.  Not even 30 minutes post op, he was climbing up my body, screaming, unable to open his eyes, unable to settle down.  They sedated him to help him relax and moved him up to PACU, where we spent the night.  His next few days were a pretty normal picture of what it looks like to recover from a skull surgery…lots of pain, crying, steroids, and the lovely roid-rages in the middle of the night.  I had to keep on the nurses for the pain meds so I slept in 4 hour intervals.  The regular doses of narcotics weren’t touching his discomfort so a pain management team came in to take care of him.

Long story short (well, too late for that), Myles has blossomed into a chatty, active boy with a healthy appetite.  He’s thriving at preschool, swim lessons, and chasing after his brother and sister.  The transformation was incredible…within a week of the surgery it was obvious.  Intellectually he has no issues whatsoever.  If I were the bragging type, I’d say he was a little ahead of his peers.  But I’m not.


Ready for discharge!

We got discharged on my birthday and it was the best present ever.  A year later, the best birthday present is that we haven’t had any major issues.  We still keep in touch with the Cranio-Facial team at Children’s and I highly recommend if you think your kid’s noggin looks at all out-of-the-ordinary, you give them a call.


IMG_8115

Teacher Appreciation…


Last week was not one of my better weeks.  I was all, “Teacher Appreciation Week is WHEN?”  As much as I love each of my kids’ teachers,  it had completely slipped my mind.  I could have gone the gift-card route but of course, that wasn’t going to do.  I have this insatiable need to make things more difficult than they need to be.  Plus, the teachers deserve something made from the heart, no?

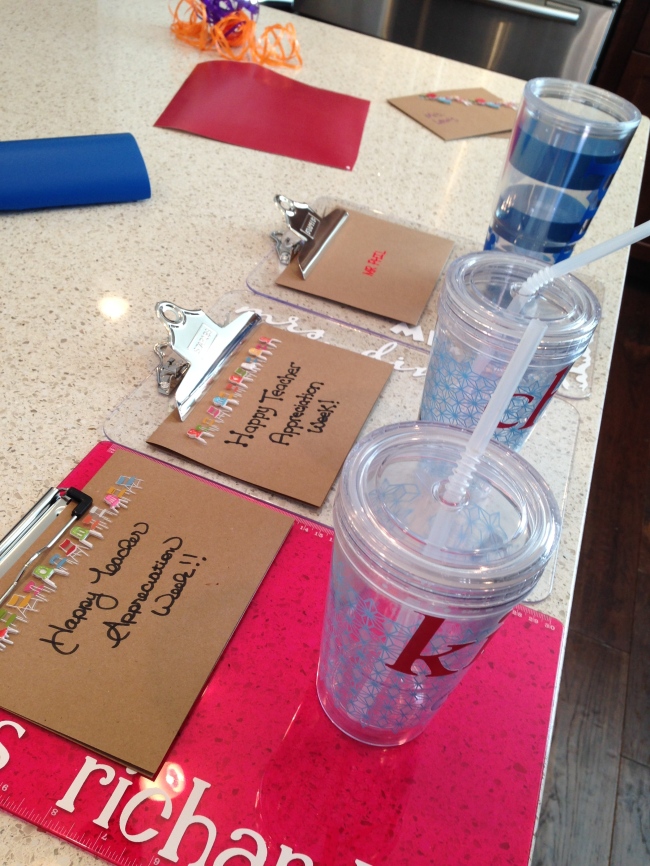
After moving to a new town and school system I realized my laziness could be redefined as working smarter as opposed to working harder.  I recycled last year’s ideas for teacher gifts.  I made the acrylic clipboards with vinyl lettering (thanks to my Cricut).  I also slapped some vinyl onto some drink tumblers.  They aren’t anything fancy but the teachers really seem to dig them.


Image

Image


Image

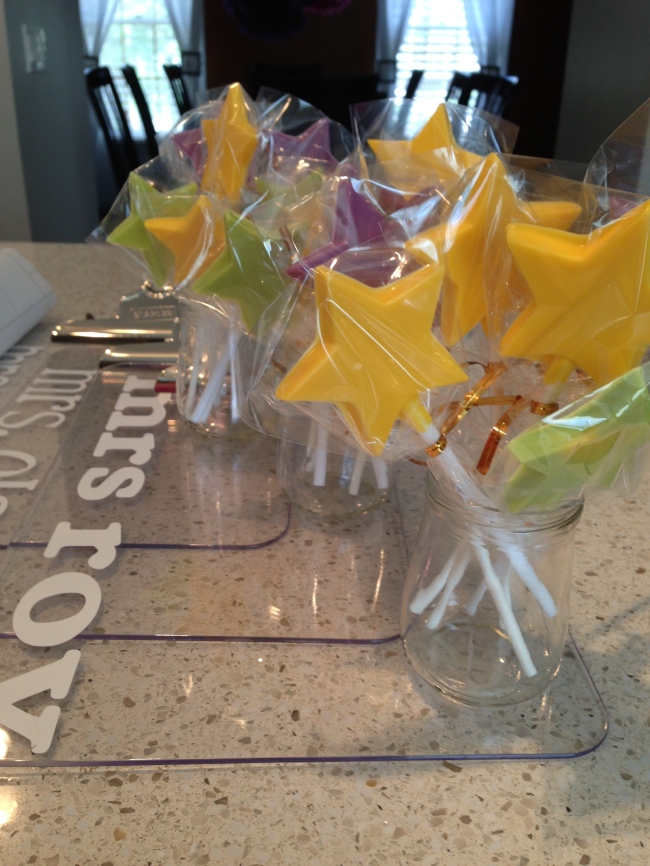
I gave the kids blank cards and stickers and let them go to town.  Oh, and I had chocolate left over from DD9’s birthday party so I made some pops.  Done and DONE.

Owls…

The owl sweater is finished!  I love the way it came out.  Wouldn’t change a thing, although I sort of wish there was less of ME in the sweater…

I’ll try to post full length photos on my Ravelry page at some point but you can check out the owl detail:

IMG_7271I’m hoping to find the perfect buttons for it.  Dark wood, about a 1/4 inch in diameter…and 22 of them.

The yarn color looked so very different in each photo that I took.  The actual color is this:

Berroco Vintage Chunky in Lilacs


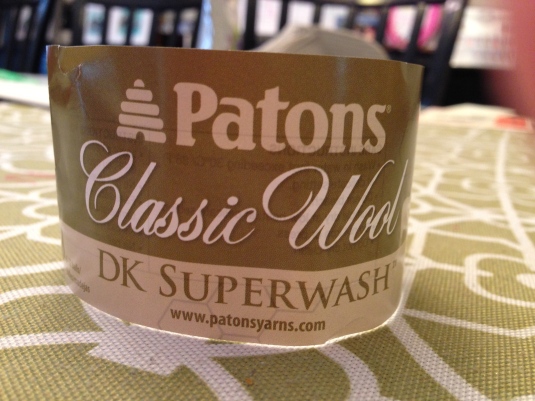
The pattern was very well-written and I tried out a new knitting app for the first time.  It’s called KnitCompanion and the beauty of it is that you can customize it to your needs.  You can use up to 4 counters at a time so you can do all the rows in your pattern with one counter, then keep track of the repeats with another counter.  You can add in notes, highlight (helpful for patterns with multiple sizes), and I know there are more capabilities that I haven’t even used yet.  It’s 15.99 at the iTunes store but if you don’t want to spring for it, you can buy a 2 week usage for .99 or a 3 month usage for 4.99.  The free version will let you use it in a limited capacity.  After using it for this sweater, i think I’ll be purchasing the full “forever” version.


So…what are you knitting right now?


**Disclaimer: I was not paid to review KnitCompanion.  If they want to gift me the full version of the app I would be forever grateful.  
Finding my Place…

Since I seem to be losing stuff all over the place lately (my car keys, my kids’ permission slips…my mind, etc.), it should only ring true for my knitting paraphernalia.  I think the only reason I haven’t lost my knitting bag is because I only see the poor thing once or twice a week.

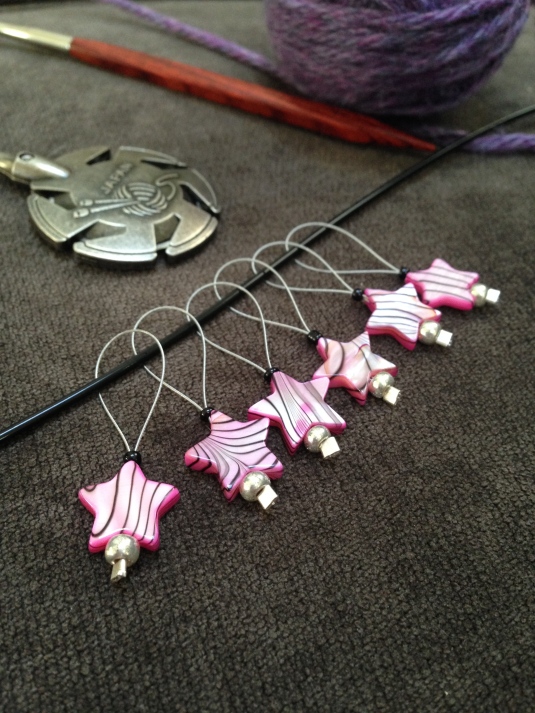
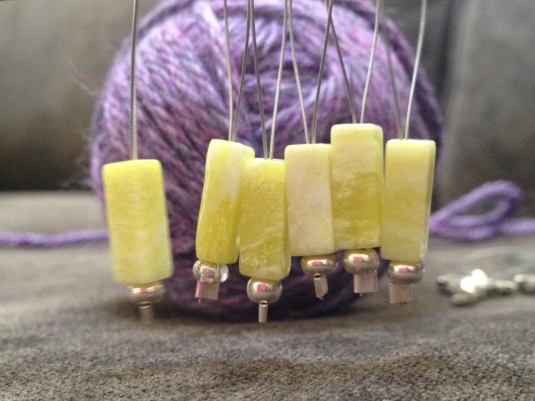
For some reason, the notions…they just don’t want to stay with me.  Snippers, tapestry needles, stitch markers…all fleeing my bag like it’s the apocalypse up in there.   I decided enough was enough and instead of buying a new pack of stitch markers for about 3 bucks, I’d spend about 40 on beading materials and make my own.  (I never claimed to have common sense.  Just roll with it.)

So last night during the Globes, I made these:

IMG_7256

IMG_7257

IMG_7259

IMG_7261Pretty, right?  Except now I have way more than I need.  Anyone want to buy some stitch markers?  I’m thinking I need a latte per each set of 6.  Four bucks?


Wreath

Since moving to a new home two months ago, I’m still trying to figure out our decorating style.  I originally thought I’d go all country/primitive, since we moved into a colonial with these lovely onion light fixtures…


Photo courtesy of Norwell Lighting

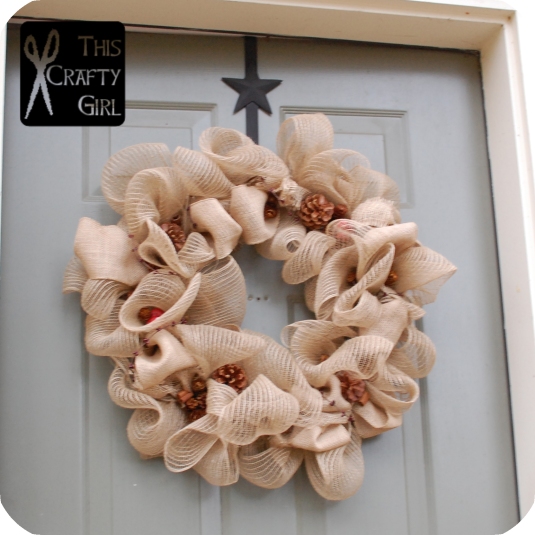
…then I started delving into this whole genre and got overwhelmed by tin, stars, and tea- and coffee-stained shit.  (I’m tea- and coffee-stained by accident every day.  You mean to tell me people do this on purpose?  As decoration?)  Totally not me, even if I tried.  So I decided to do something somewhat generic–good for any sort of decor, appropriate for Thanksgiving, and Christmas.  Bonus:  it smells like cinnamon.

(sorry for the blurry quality…it was cooooooold this morning in New Hampshire!)

wreath


I used a green wire wreath form, Deco Mesh, two varieties of burlap wired ribbon, a garland of berries, hot glue, and some cinnamon-scented pinecones.  What are you decorating your front door with?


Disclaimer:  this post contains affiliate links to Amazon.  Click through them and purchase and I might make be able to make it rain.  Well, hail.  Pennies.

Birthday Party Madness…

My son is the king of themed parties.  (And his mom might play a role in the enabling that goes on around here…)

This year (his 7th birthday) was he year of the Teenage Mutant Ninja Turtles.

Easy peasy lemon squeezy.


(Where the hell did that come from?  Am I eighty years old?)


First, I designed the invites using some clipart I googled…

Mason Birthday


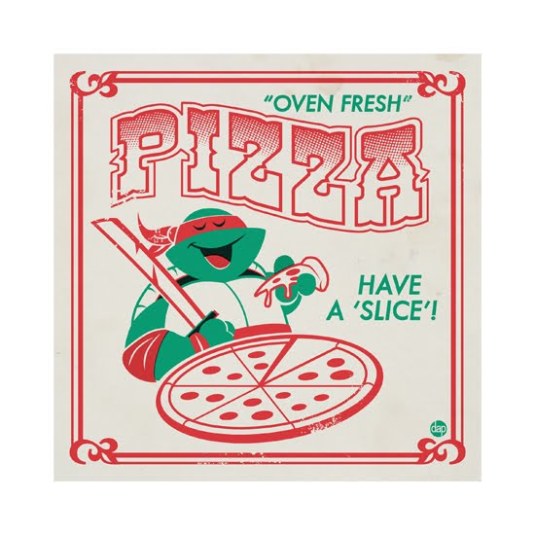
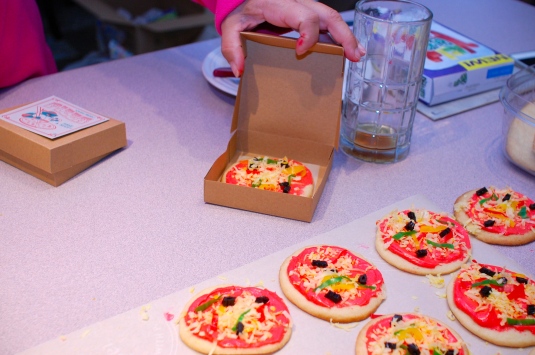
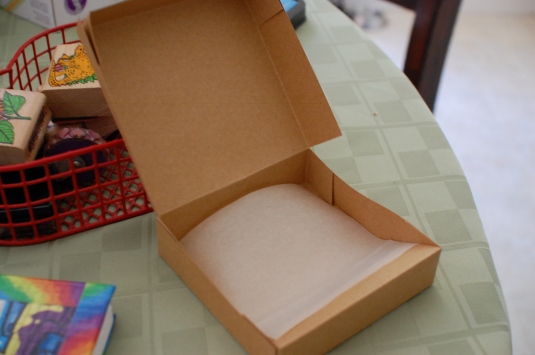
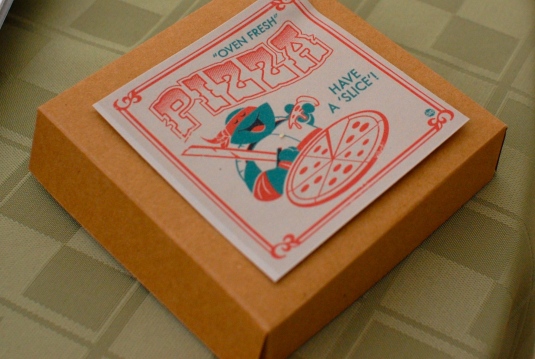
Then I decided to make my life very difficult and took a little visit to the black hole known as Pinterest.  Searched for TMNT party and found some cool ideas I incorporated for the birthday.  Cookies made to look like mini pizzas?  Sure, why not?  Handmaking the pizza boxes?  OK!  Cake pop treats?  No problem!


Easier said than done, mofo.


Well, here are some pictures.  And I’ll say what I say every year after every kids’ party:  I’m never doing this again, next time I’m ordering everything from Oriental Trading or Birthday in a Box.

Sure.

TMNT Pizza Box IMG_6466 IMG_6465 DSC_0062 DSC_0061 DSC_0060 DSC_0030 DSC_0029


For the boxes, I used this tutorial over at SplitCoast Stampers.  Super easy!

Knitting

I’ve made a bunch of things since the summertime and have now just gotten around to taking good photos.

The Clapotis…made while I was in the hospital with my son.

DSC_0038 DSC_0035DSC_0034The Gina

DSC_0040

DSC_0039

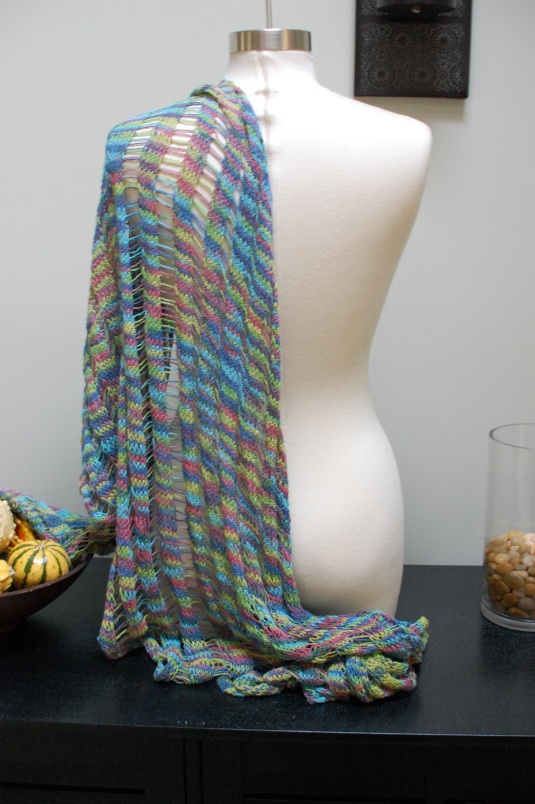
Stephen West’s Boneyard Shawl

DSC_0033

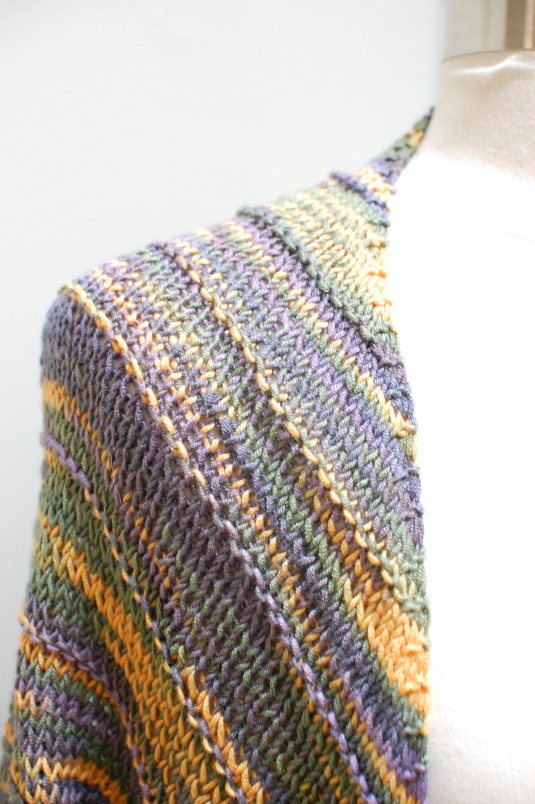
DSC_0032And lastly, the Hitchhiker

DSC_0043Currently, I’m working on a Pumpkin Pie with some gorgeous Malabrigo yarn…more pictures to come…


What are you knitting?


My Family…

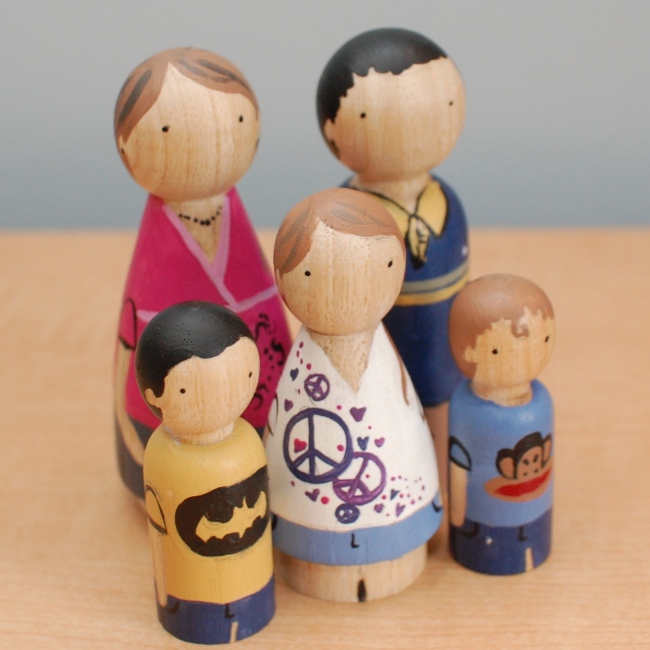
Recently, while perusing Instagram, I stumbled upon a friend’s picture of some charming peg dolls painted in her family’s likeness.  I fell in love with them and had to steal the idea.  She purchased them from Goose Grease, a fair trade company that creates custom peg dolls, or kits that include the wooden dolls, paints, brushes, and a cute little muslin bag to store them in.

I promptly ordered a set (they come in sets of 6) and here is what I’ve created:

Image

Unfortunately, I forgot to erase my pencil lines before I sealed them.  Oops.  They are going to be a gift to my husband when we move into our new home.

(Disclaimer:  No one paid me to post this…I purchased the kit myself and loved it)

Yarn Dyeing…

Last month I thought it would be fun to try my hand at dyeing my own yarn.  I perused many a site about dyes, fixatives, etc and then stumbled upon this little gem.   A whole website dedicated to dyeing yarn with food coloring!  And free, to boot.  The site discusses using everything from the McCormick food coloring you can buy at your local grocery store, to the Wilton gel dyes you can purchase at a craft store.  They provide photos of every color and type of dye in adorable mini hanks like this:

image courtesy of dyeyouryarn.com

So using their directions on incorporating the Wilton gel icing dyes, I started my little project (which, surprisingly, did not make a huge mess or cost a whole bunch of money).

IMG_5198

I started with a superwash yarn, and also did a 100% wool yarn:

IMG_5195

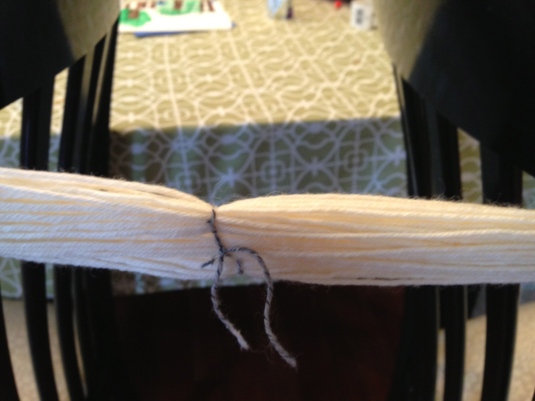
Wound it into a hank:

IMG_5196Tied it off:

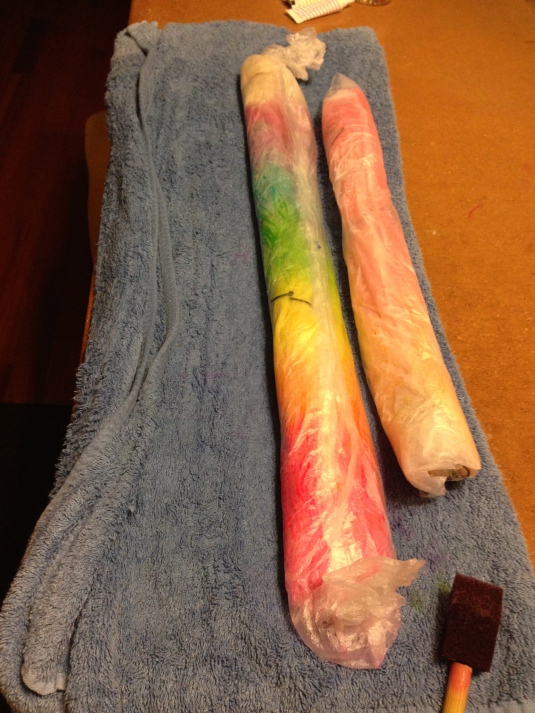
IMG_5197And laid it out, painted the dye on, and let it sit.  I microwaved it for a bit to set the dye and wrapped it with Glad Press n Seal.

IMG_5200 IMG_5201

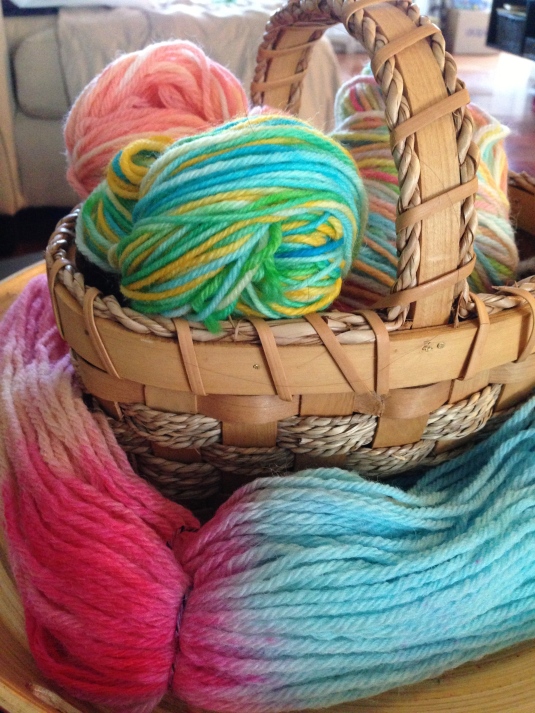
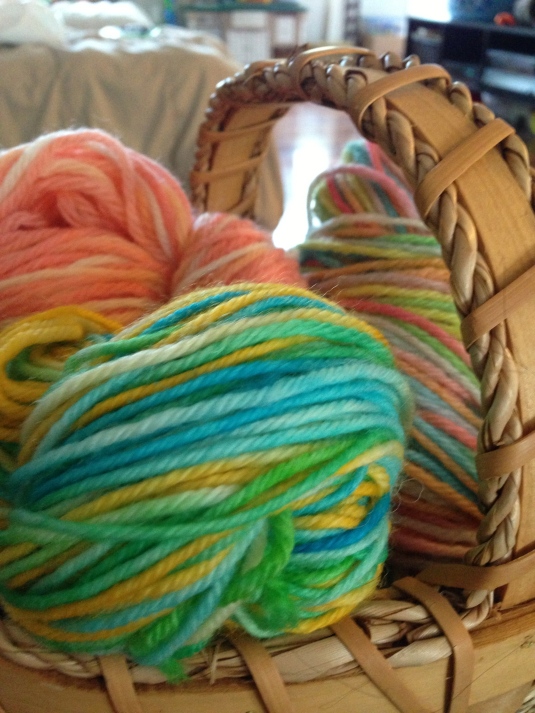
And unfortunately I have not created a swatch or knitted anything yet so you’ll have to wait to see the result!

IMG_5204

IMG_5205

IMG_5202


Creating Text in a Curve with Cricut Craft Room

I’ve been a Cricut owner for a few years now and like all my crafts, the machine gets used in fits and starts, depending on what I’m into at the moment.

Cricut Expression

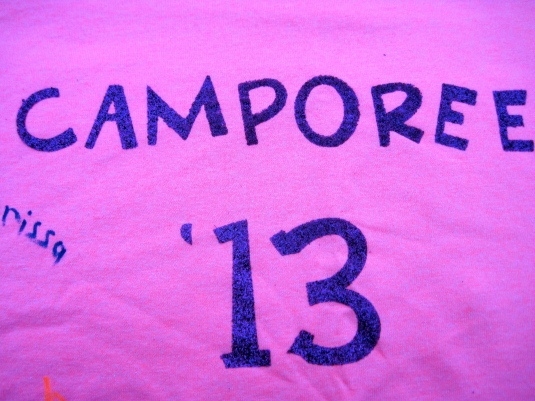
Recently, I started using iron on vinyl in the Cricut along with Cricut Craft Room to make T-shirts for my Girl Scout troop’s camping trip.  It was finicky but once I got the hang of what I was doing (and a detailed walkthrough from the fine folks at ilovetocreate) it was fairly easy to bang out 18 of them.

Tulip brand Iron on Glitter Transfer Sheets

Tulip brand Iron on Glitter Transfer Sheets

I started using Cricut Craft Room about a year ago and just yesterday I was finally able to link my Gypsy to it, which made my life about a thousand times easier.  I have about 30 cartridges so I wasn’t about to go through the whole linking process again.  And my Jukebox is covered in dust somewhere in the nether regions of my craft studio…

Cricut Jukebox…allows one to cut without changing cartridges within the machine

The only thing left on my Cricut wishlist is to be able to create text in an arc or in a circle.  There is a workaround I have done and I’ll share the steps with you below.

…..

I wanted to make a car decal (yes, I’m turning into THAT mom…crazy stick figures may be next, watch out!) with my eldest’s name and a karate figure on it.  These things cost like 10-15 bucks and I figured I could make it for less than $2.50 with a sheet of 12×12 white vinyl.

1.Open up Cricut Craft Room

2.Select the cartridge you’ll be using.  (I used Plantin Schoolbook)

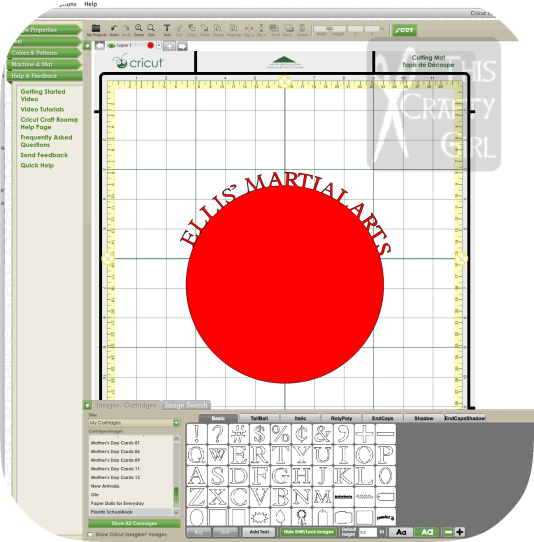
3.Create a large circle.  Size doesnt matter (snort), since you’ll be deleting it after the letters are placed.

4.Place the letters (do NOT use the “Add text” feature.  Click on the letters in the keypad below the screen) on the screen in the size you want.  You’ll be moving them individually.  Rotate each letter so it is perpendicular to the circle’s outline.  After each letter is placed and rotated, SAVE YOUR WORK.

5.Delete the circle.

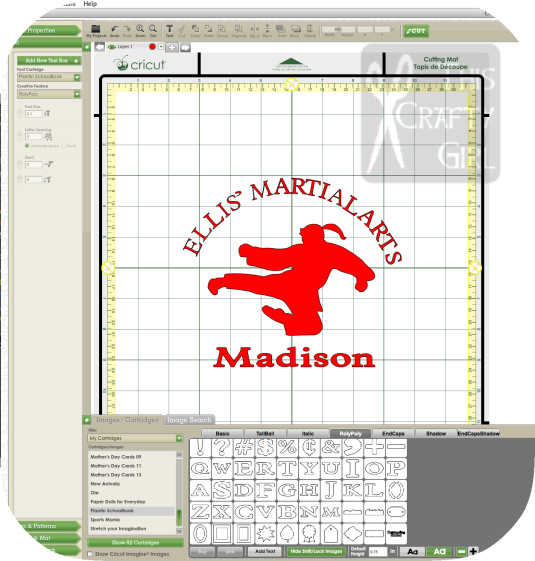
6.Add your figure (I used the flying side kick figure from Sports Mania, and added a little paisley from Home Accents to make a ponytail), and the name on the bottom in a straight line.

Screen Shot 2013-05-07 at 7.14.10 PM copy

7.Group your images and re-size them to the dimensions you like.

8.  Save and CUT!

Previous Older Entries

Blog Stats

  • 32,831 hits